
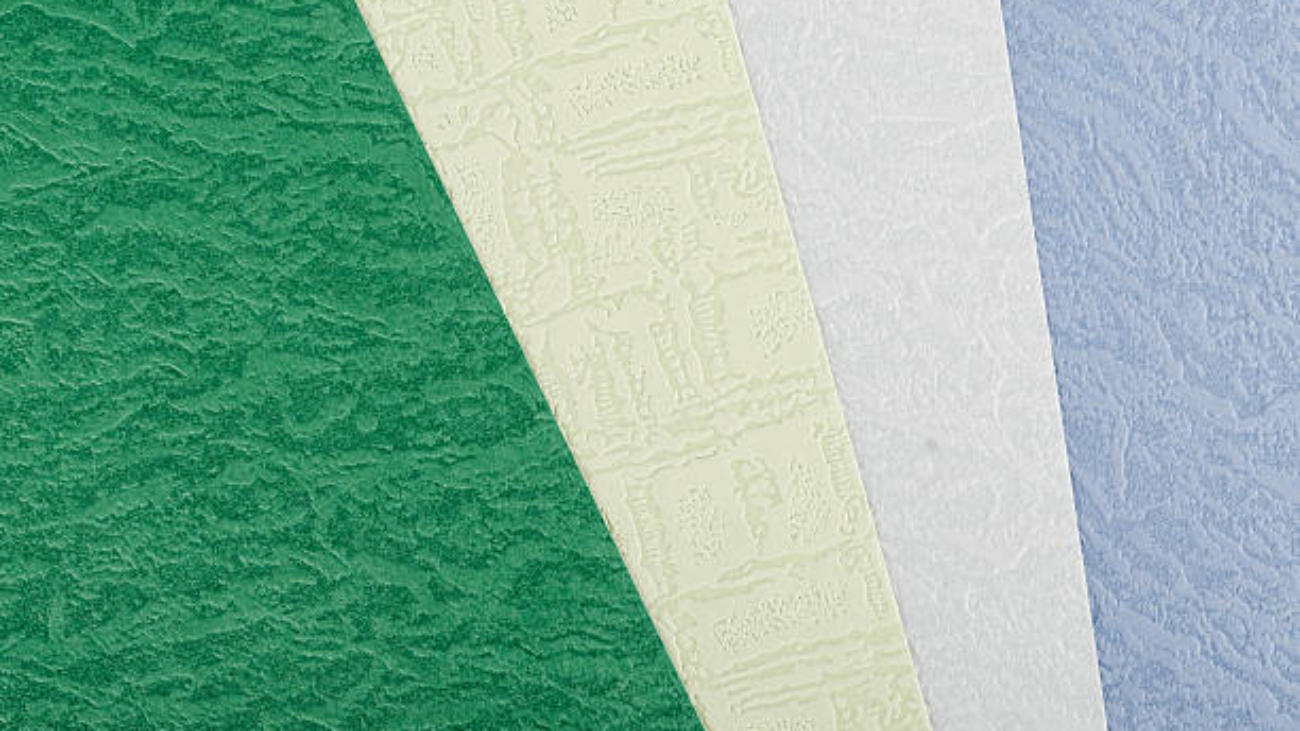
Embossing vs. Debossing: Which Finish Creates a Better Luxury Packaging Effect?
In luxury packaging, surface details can influence how customers perceive a product before they open the box. Embossed packaging paper creates raised patterns, while debossing presses designs into the paper surface. Both techniques add texture, depth, and visual distinction to premium packaging.
However, choosing between embossing and debossing involves more than appearance. Paper thickness, fiber structure, relief depth, backing support, and manufacturing sequence all affect the final result. On a rigid box made with thick greyboard, an unsuitable process may flatten the relief, damage the paper, or create inconsistent impressions.
This guide explains the structural differences between embossing and debossing, compares advanced finishing effects, and examines when to apply impressions before or after wrapping a rigid box. It also covers paper selection and practical quality checks for luxury packaging projects.
1. Structural Mechanics: Raised Relief vs. Recessed Impressions
Embossing and debossing both use pressure to reshape a material surface. The main difference is the direction of the impression.
Embossing pushes selected areas upward to create a raised design. Debossing presses selected areas downward to create a recessed design.
Understanding this difference helps packaging designers select the right finish for logos, patterns, borders, and decorative details.
1.1 What Is Embossing in Luxury Packaging?
Embossing creates a raised pattern on paper or another suitable packaging material.
The process commonly uses a matched die set. A male die and a female counter die apply controlled pressure to form the desired relief.
Depending on the design and equipment, embossing can create:
- Raised brand logos.
- Decorative borders.
- Geometric patterns.
- Floral and botanical details.
- Textured backgrounds.
- Multi-level sculpted graphics.
Embossing works particularly well when a brand wants a visible and tactile focal point.
For example, a raised logo on a matte-textured rigid box can catch light from different angles. This effect adds dimension without relying entirely on metallic foil or printed colors.
However, the final relief depends on the paper’s ability to deform without tearing. Excessive pressure or an unsuitable paper structure can cause cracking, fiber damage, or uneven edges.
1.2 What Is Debossing in Luxury Packaging?
Debossing creates a recessed impression by pressing a design into the paper surface.
Unlike embossing, the design appears below the surrounding surface. It can produce a restrained, engraved appearance that suits minimalist luxury packaging.
Common applications include:
- Recessed brand names.
- Minimalist logo impressions.
- Fine decorative lines.
- Geometric patterns.
- Subtle surface textures.
- Blind-pressed designs without additional ink or foil.
Debossing is often used when a brand wants texture without a prominent raised element.
The result depends on impression depth, paper thickness, backing support, and the pressure distribution of the die.
If the material is too thin or the impression is too deep, the paper may become visibly damaged on the opposite side. On wrapped rigid boxes, excessive pressure may also affect the surface beneath the decorative paper.
1.3 Embossing vs. Debossing: Key Differences
| Comparison Factor | Embossing | Debossing |
|---|---|---|
| Surface effect | Raised relief | Recessed impression |
| Visual appearance | Sculpted and prominent | Engraved and understated |
| Light interaction | Highlights raised edges | Creates shadows inside impressions |
| Common use | Logos, patterns, decorative details | Logos, typography, minimalist designs |
| Tooling | Matched embossing dies in many applications | Matched or suitable impression tooling |
| Main risk | Cracking, uneven relief, flattened details | Paper damage, excessive compression |
| Design suitability | Strong visual hierarchy | Subtle and refined branding |
Neither finish is automatically better for luxury packaging. The right choice depends on the brand’s visual identity, artwork, paper properties, and box construction.
1.4 Can Embossing and Debossing Be Combined?
Yes. Some luxury packaging designs combine raised and recessed impressions to create contrast.
For example, a logo may feature a raised central symbol with a recessed border. This creates a more complex tactile effect than using one impression direction alone.
However, combined finishes require careful die design and registration. Designers should consider:
- The distance between raised and recessed elements.
- The paper’s ability to withstand multiple forming operations.
- The depth of each impression.
- The available flat areas around the artwork.
- The risk of overlapping pressure zones.
For intricate designs, a physical sample is more reliable than judging the effect from a digital rendering.
2. Multi-Level Sculpted Embossing vs. Blind Debossing Aesthetics
Beyond basic embossing and debossing, advanced finishing techniques allow brands to create distinctive packaging surfaces.
Two examples are multi-level embossing and blind debossing. They produce different visual effects and serve different design objectives.
2.1 Multi-Level Embossing: Creating Sculpted Depth
Multi-level embossing uses different relief heights within one design.
Instead of raising every element to the same level, the die creates a combination of higher and lower areas. This produces a sculpted effect with more visual depth.
Typical applications include:
- Detailed brand emblems.
- Floral and botanical patterns.
- Decorative illustrations.
- Premium gift box surfaces.
- Complex geometric artwork.
The success of multi-level embossing depends on the relationship between design detail and material behavior.
Very fine lines may not form clearly on textured or thick paper. Closely spaced raised areas may also cause unwanted deformation between elements.
When preparing artwork, designers should define:
- Which elements require the highest relief.
- Which areas should remain flat.
- Whether intermediate levels are necessary.
- How much spacing is available between details.
- Whether the paper can support the required forming depth.
A multi-level die should be designed around the selected paper and production method rather than the artwork alone.
2.2 Blind Debossing: Minimalism Through Texture
Blind debossing creates a recessed design without adding ink, foil, or another contrasting surface material.
The visual effect comes from changes in depth, light, and shadow.
It is especially suitable for:
- Minimalist luxury logos.
- Premium cosmetic packaging.
- Jewelry boxes.
- High-end gift boxes.
- Monochromatic packaging designs.
Blind debossing can create a refined finish because the design remains part of the original material surface.
For example, a small recessed logo on a smooth matte paper can communicate understated branding. On a textured paper, the same design may appear less distinct because the existing surface pattern competes with the impression.
Therefore, paper texture and artwork scale should be evaluated together.
2.3 How to Choose Between Multi-Level Embossing and Blind Debossing
| Design Requirement | Recommended Direction | Key Consideration |
|---|---|---|
| Strong raised logo | Embossing | Relief height and edge definition |
| Sculpted decorative artwork | Multi-level embossing | Die complexity and paper forming limits |
| Minimalist brand identity | Blind debossing | Surface texture and contrast |
| Subtle geometric pattern | Blind debossing | Line spacing and impression depth |
| Mixed raised and recessed details | Combined embossing and debossing | Die registration and pressure control |
The best finish is not necessarily the most complicated one. A clear, well-executed impression often creates a stronger luxury effect than an overly detailed design.
3. Manufacturing Workflow: Pre-Wrapping vs. Post-Wrapping Impressions
One of the most important decisions in rigid box manufacturing is when to apply embossing or debossing.
Should the decorative paper be pressed before wrapping the greyboard? Or should the finished box be embossed after the wrapping process?
There is no universal answer. Each workflow has different advantages and limitations.
3.1 Pre-Wrapping Embossing and Debossing
Pre-wrapping embossing means applying the impression to the decorative paper before attaching it to the rigid box structure.
A simplified production sequence is:
- Prepare and inspect the decorative paper.
- Position the paper in the embossing or debossing die.
- Apply the required impression.
- Inspect the formed surface.
- Apply adhesive using the selected wrapping method.
- Wrap the paper around the greyboard.
- Fold and finish the box edges.
- Inspect the final appearance.
This method allows the finishing operation to work directly on a relatively flat paper sheet.
Advantages:
- Easier positioning of many flat decorative designs.
- More accessible die setup and registration.
- Less direct pressure on the completed rigid box.
- Suitable for many logo and pattern applications.
However, pre-wrapping impressions introduce their own challenges.
The paper may stretch or deform during wrapping. Raised areas can be compressed by rollers, wrapping tools, or manual handling. Adhesive application may also affect the appearance if it causes the paper to become uneven.
For deep embossing, the production team should check whether the formed relief can survive the wrapping process.
3.2 Post-Wrapping Embossing and Debossing
Post-wrapping embossing applies the impression after the decorative paper has been attached to the rigid box.
This approach may be suitable for selected designs that require the impression to align with the finished box surface.
However, it requires careful consideration of the complete box structure.
Potential challenges include:
- Pressure transfer through the decorative paper.
- Compression of the greyboard.
- Deformation of the box surface.
- Uneven support near edges and corners.
- Difficulty maintaining consistent impression depth.
A post-wrapping process is not automatically more accurate or more durable. Its success depends on the press, tooling, box structure, support arrangement, and pressure settings.
Before choosing this method, manufacturers should confirm that the finished box can withstand the forming pressure without damaging its structure.
3.3 Which Workflow Is Better for Thick Greyboard Rigid Boxes?
For many conventional rigid box designs, applying the impression to the decorative paper before wrapping is a practical starting point.
It allows the paper to receive the impression before it is attached to the greyboard. This reduces the need to press directly against the completed rigid structure.
However, pre-wrapping is not suitable for every design.
For example, a large embossed area may lose definition during wrapping. A design positioned close to a folded edge may also deform as the paper bends around the board.
Post-wrapping impressions may work for specific constructions and tooling arrangements, but they require validation on the actual box.
The best workflow should be selected through production trials rather than a fixed rule.
3.4 How to Prevent Relief Collapse During Rigid Box Production
Relief collapse can occur when raised or recessed details lose their intended shape during subsequent manufacturing steps.
To reduce this risk:
Choose suitable paper. The paper must tolerate the required deformation and wrapping tension.
Control impression depth. Excessive depth can weaken the paper or create unstable edges.
Review the artwork position. Keep critical details away from tight folds, corners, and high-stress wrapping areas when possible.
Control adhesive application. Uneven adhesive or excessive moisture may affect the paper’s flatness and forming behavior.
Adjust wrapping pressure. The wrapping process should avoid unnecessary compression of raised details.
Inspect samples after wrapping. Do not approve an embossed sheet based only on its appearance before box assembly.
For premium packaging, the final wrapped box is the most meaningful sample for evaluating relief quality.
4. Paper Thickness and Fiber Elasticity Requirements
Paper selection directly affects embossing and debossing quality.
A material may look attractive when printed but perform poorly under mechanical pressure. Its thickness, fiber structure, coating, surface texture, and moisture condition all influence how it forms.
There is no single minimum paper weight or thickness that guarantees successful embossing. The suitable range depends on the paper grade, die design, impression depth, and production method.
4.1 Why Paper Thickness Matters
Paper thickness affects how the material responds to compression and deformation.
If paper is too thin for the required impression depth, it may show:
- Surface cracking.
- Fiber separation.
- Visible damage on the reverse side.
- Uneven relief.
- Reduced edge definition.
Thicker paper may provide more material for forming, but thickness alone does not guarantee a better result.
A thick, brittle paper may crack under pressure. A thinner paper with suitable fiber properties may form more cleanly under a shallow impression.
Therefore, buyers should evaluate paper thickness together with its mechanical behavior.
4.2 Fiber Elasticity and Paper Formability
Paper fibers respond to pressure through a combination of bending, compression, stretching, and local deformation.
The paper’s ability to accommodate these changes influences the final impression.
Important material factors include:
Fiber composition: Different pulp compositions and fiber structures produce different forming characteristics.
Fiber direction: Machine direction and cross direction can behave differently during bending and deformation.
Paper moisture: Moisture affects flexibility and dimensional stability. Excessive or uneven moisture may cause deformation, while unsuitable moisture conditions may increase cracking risk.
Coating: Coated surfaces may provide a smooth appearance, but some coatings can crack or separate during deep forming.
Surface texture: Existing textures may reduce the visual clarity of fine embossed or debossed details.
For demanding designs, suppliers should test the actual paper rather than rely only on its nominal weight.
4.3 How to Select Paper for Embossed Packaging
The following table provides a practical selection framework.
| Paper Property | Why It Matters | What to Test |
|---|---|---|
| Basis weight | Indicates paper mass per unit area | Forming quality and handling |
| Thickness | Influences compression and deformation | Relief depth and reverse-side damage |
| Fiber direction | Affects bending behavior | Cracking around edges and folds |
| Surface coating | Influences surface integrity | Coating cracking and delamination |
| Moisture condition | Affects flexibility and dimensional stability | Curling and impression consistency |
| Surface texture | Influences visual clarity | Detail definition and contrast |
Designers should not specify paper weight as the only acceptance criterion.
A complete material evaluation should include the actual paper grade, thickness, coating, surface finish, and forming test results.
4.4 How to Prevent Paper Cracking and Impression Defects
Paper cracking often occurs when the forming strain exceeds what the material can tolerate.
The risk may increase with:
- Deep impressions.
- Sharp design corners.
- Fine details with insufficient spacing.
- Brittle coatings.
- Unsuitable paper moisture.
- Excessive or uneven pressure.
Practical ways to reduce defects include:
- Use rounded transitions where the design allows.
- Avoid unnecessarily deep impressions.
- Match die geometry to the paper properties.
- Test both machine and cross directions.
- Inspect the reverse side for fiber damage.
- Check the paper after adhesive application and wrapping.
- Confirm that the final box maintains the intended relief.
A successful sample should be evaluated after the complete production process, not just immediately after pressing.
5. Practical Design and Procurement Checklist for Luxury Packaging
For packaging designers and brand buyers, embossing decisions should be made before mass production.
A clear technical brief helps the packaging manufacturer evaluate the artwork, paper, tooling, and box structure together.
5.1 Information to Confirm Before Production
Before approving a custom embossed packaging paper project, confirm:
- Artwork: Is the design raised, recessed, or a combination?
- Relief depth: How prominent should the impression appear?
- Paper grade: What paper type, thickness, and coating will be used?
- Fiber direction: Does the impression cross important folding areas?
- Box construction: What greyboard thickness and wrapping structure are required?
- Production sequence: Will the paper be embossed before wrapping or after assembly?
- Finishing combination: Will embossing be combined with foil stamping, printing, or lamination?
- Sample approval: Has the complete wrapped box been evaluated?
These details help prevent costly adjustments after tooling and mass production begin.
5.2 What Should Be Checked During Sample Approval?
A sample review should cover both appearance and structural performance.
| Inspection Item | Acceptance Focus |
|---|---|
| Relief height | Consistent and appropriate for the design |
| Impression edges | Clear without unwanted cracks |
| Paper surface | No visible tearing or coating separation |
| Reverse side | No unacceptable breakthrough or damage |
| Logo positioning | Correct alignment on the box |
| Wrapped surface | No obvious relief collapse |
| Corners and edges | No unexpected deformation |
| Combined finishes | No unwanted interference between embossing, foil, and printing |
For repeat orders, retain an approved reference sample and record the relevant material and production settings.
6. Frequently Asked Questions About Embossed Packaging Paper
Q1: What is the difference between embossing and debossing?
Embossing creates a raised design above the paper surface. Debossing creates a recessed impression below the surrounding surface. Both techniques add tactile detail to luxury packaging.
Q2: Is embossing or debossing better for luxury rigid boxes?
Neither is universally better. Embossing creates a more prominent raised effect, while debossing offers a subtle engraved appearance. The best choice depends on the brand design, paper, box structure, and desired visual effect.
Q3: Should embossed paper be processed before or after rigid box wrapping?
Pre-wrapping embossing is a practical option for many conventional rigid box designs because the paper can be pressed while flat. However, the final choice depends on the relief design, paper behavior, wrapping process, and tooling. Both methods require sample validation.
Q4: Can thick greyboard be embossed directly?
It depends on the greyboard structure, thickness, density, and required impression. Deep impressions on a completed rigid box may compress or deform the board. Many designs apply the impression to the decorative paper instead, before wrapping.
Q5: What paper is suitable for embossed packaging?
Suitable paper depends on fiber composition, thickness, coating, moisture condition, and impression depth. Designers should test the actual paper grade with the intended die rather than rely on paper weight alone.
Q6: Why does embossed paper crack during production?
Cracking may result from excessive impression depth, unsuitable paper properties, brittle coatings, sharp die geometry, or poor moisture control. Adjusting the material, die, and pressing conditions can help reduce the risk.
Q7: Can embossing be combined with foil stamping?
Yes. Embossing and foil stamping can create a layered visual effect. However, the production sequence and registration requirements should be confirmed during sampling to avoid uneven foil coverage or damaged relief details.
Conclusion: Choose the Right Impression for Lasting Luxury Packaging
Embossing and debossing offer different ways to create tactile and visual depth in luxury packaging. Embossing produces raised details that attract attention, while debossing creates recessed impressions for a more understated finish. Multi-level embossing and blind debossing provide additional design possibilities for premium rigid boxes.
However, a successful finish depends on more than the impression direction. Paper thickness, fiber structure, coating, moisture, die geometry, and production sequence all influence the result.
For rigid boxes, pre-wrapping and post-wrapping impressions each have practical applications. The right method should be selected according to the actual paper and box construction, then verified through a complete production sample.
For brands developing custom luxury rigid boxes, early coordination between artwork design, paper selection, and manufacturing is essential. IJEN can help evaluate finishing requirements and explore suitable custom packaging solutions for your project.
